


Assess glass damage using good lighting to spot cracks and chips. Consult professionals if unsure. Prepare and organize an emergency glass repair kit for quick access. Follow a systematic approach: workspace prep, debris removal, tool gathering, adhesive application, and sealing. For complex repairs, seek professional Mercedes Benz-standard auto body services.
In an emergency, a shattered window can be more than just a mess; it’s a potential safety hazard. Learn how to confidently tackle the situation with advanced tips on using emergency glass repair kits. This guide covers everything from assessing damage for cracks and chips to mastering a step-by-step repair process for clear, secure results. By arming yourself with these essentials, you’ll be prepared to handle unexpected breaks and protect your space.
- Assessing Damage: Spotting Cracks and Chips
- Kit Essentials: Unpacking and Familiarizing Yourself
- Step-by-Step Repair Process for Clear Results
Assessing Damage: Spotting Cracks and Chips

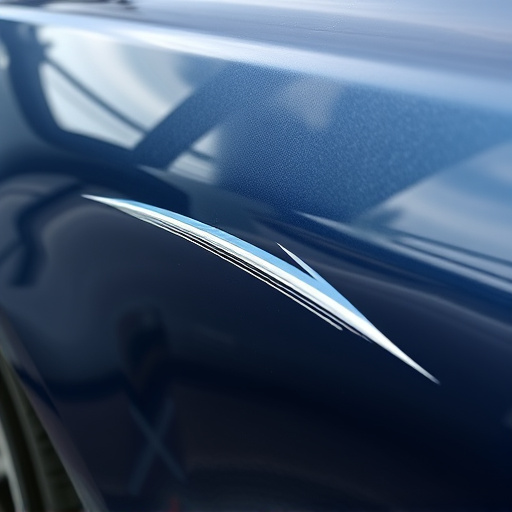
Assessing damage is a crucial step in any emergency glass repair scenario. Before attempting to fix or replace your windshield or car windows, it’s essential to spot cracks and chips accurately. Cracks can vary from tiny hairline fractures to larger, more noticeable splits, while chips often appear as small broken areas on the surface of the glass. These defects can significantly impact visibility and safety while driving, making prompt action vital.
Proper inspection involves examining the glass thoroughly under good lighting conditions. Look for any unusual markings or imperfections that deviate from the normal appearance of the windshield or window. If you’re unsure about identifying specific types of damage, consider enlisting the help of a professional auto repair service or car paint specialist who can provide expert advice and ensure the most effective emergency glass repair is carried out.
Kit Essentials: Unpacking and Familiarizing Yourself

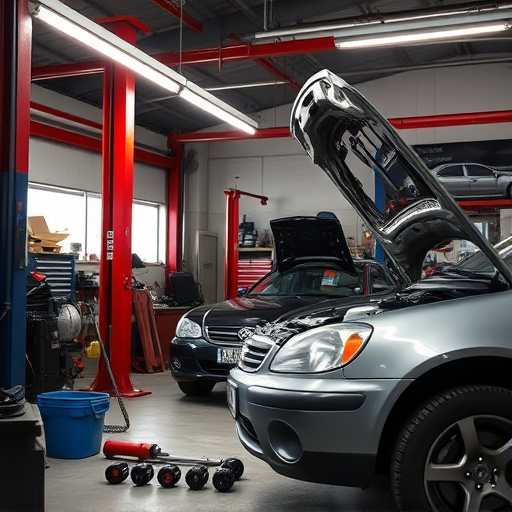
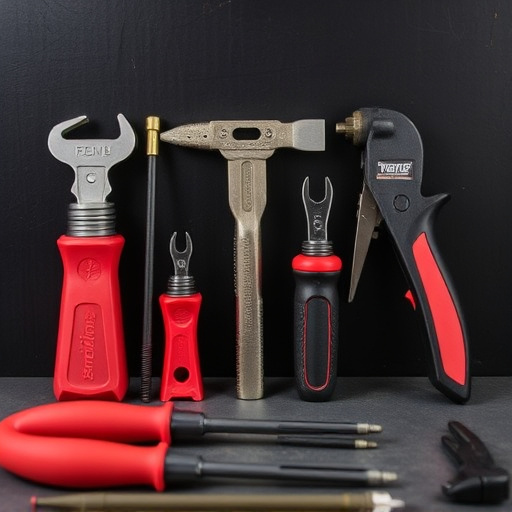
When you open your emergency glass repair kit for the first time, take a moment to unpack its contents and familiarize yourself with each item. This is crucial as it ensures that when an emergency arises, you can act swiftly and effectively. The kit should include essentials like specialized adhesives, resealants, tools for cleaning and shaping the glass, and protective gear. Understanding where each tool is located will save precious time in a high-pressure situation.
Go through the user manual provided, which will offer step-by-step instructions on how to use the kit. This is especially important if you’re not familiar with emergency glass repair. Knowing the sequence of application and the specific techniques involved can make all the difference in achieving a secure, long-lasting fix, similar to the services offered by a professional auto body shop.
Step-by-Step Repair Process for Clear Results

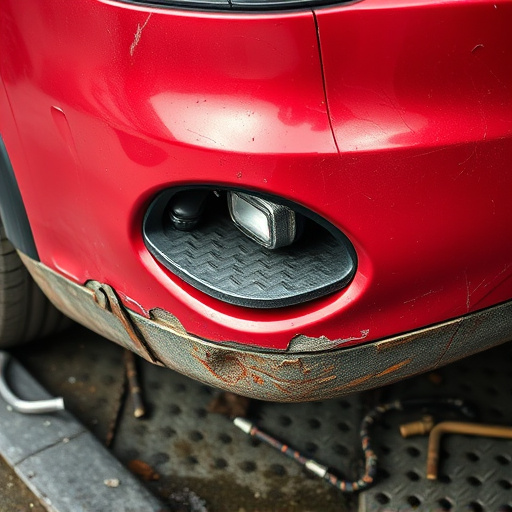
When using an emergency glass repair kit, following a structured process ensures clear and effective results. Start by preparing your workspace, clearing any debris from the damaged area, and ensuring good lighting for precision work. Next, gather all necessary tools and materials from the kit, including replacement glass, adhesives, and sealing agents.
Begin by carefully removing the broken glass, taking care not to damage the surrounding areas. Clean the surface thoroughly with the provided cleaning solutions to eliminate any contaminants. Fit the new glass carefully, aligning it precisely with the existing framework. Apply the adhesive along the edges, following the manufacturer’s instructions for curing time. Once set, seal the joint with the specified sealant to enhance durability and prevent future damage. For complex repairs or in cases of extensive vehicle body repair, like those seen in Mercedes Benz collision repair scenarios, professional assistance from a reputable car repair shop remains unparalleled.
Emergency glass repair kits offer a convenient solution for minor cracks and chips in your windows or mirrors. By understanding how to assess damage, unpack and utilize the kit effectively, you can achieve clear, professional results. With these advanced tips, you’ll be well-equipped to handle unexpected breaks, ensuring safety and aesthetics without professional intervention. Remember, prompt action with the right tools makes all the difference in emergency glass repair.